Recipes>Biscuit Recipes
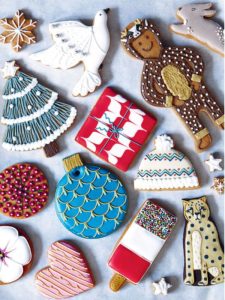
Biscuiteers Fabergé Easter Eggs
by Biscuiteers from Biscuiteers Book of Iced Gifts
Makes approx. 24 biscuits

This recipe for Easter egg biscuits from acclaimed London bakery, Biscuiteers, makes a wonderfully ornate Easter.
Discover more delicious Easter recipes
From lamb centrepieces to seasonal bakes
From the book
Biscuiteers Book of Iced Gifts
Biscuiteers

Biscuiteers Book of Iced Gifts
Decorative biscuits for every occasion
Inventive ideas for biscuits and cakes

Fun family projects and gifts to bake at home
Buy From
Introduction
Too pretty to hide in the garden, these special Fabergé-inspired biscuits make a very grown-up Easter present. The intricate line work takes some practice, so we always ice onto parchment paper first, to steady our hands. If in doubt … add more gold balls!
Tags
Ingredients
| For the egg-shaped biscuits: | |
|---|---|
| 170g | caster sugar |
| 170g | salted butter |
| 170g | golden syrup |
| 1 | large egg |
| 375g | plain flour |
| 125g | self-raising flour |
| 100g | cocoa powder (100%) |
| For the royal icing: | |
| 150ml | cold water |
| 900g | royal icing mix |
| food colouring in pink, blue and beige | |
| to decorate: | |
| granulated sugar | |
| edible gold ball decorations |
Essential kit
You will need: an electric mixer, an electric whisk, an egg-shaped biscuit cutter, a piping bag cut at an angle and a squeezy icing bottle.
Method
For the egg-shaped biscuits:
Preheat oven to 150°C/130°C fan/gas mark 2. Line two baking trays with greaseproof paper.
Put the sugar, butter, golden syrup and egg into a large mixing bowl. Mix with an electric mixer on a low speed for 3 minutes, until there are only small lumps of butter visible, then turn the speed up to medium for 1 minute to reduce the size of the butter lumps.
Sift both types of flour and the cocoa into the bowl and mix on a low speed for 1 minute, or until combined, then turn the mixer up to medium speed for 30 seconds, or until the dough clings together and the sides of the bowl are clean.
Turn the dough out onto a clean work surface. Divide into two and squash into even, flat discs. Cover with cling film and chill, or use immediately.
Roll out the dough to an even thickness between two sheets of greaseproof paper and cut out your biscuit shapes (for dough rolling, cutting, cooking and keeping tips, see pp.15–16).
Carefully pick up each biscuit with a palette knife and place onto the lined trays. Space the biscuits out evenly – they will spread a little when baking.
Place the trays into the preheated oven and bake for 20–30 minutes (check at 20 minutes).
When the biscuits are evenly cooked and just beginning to darken slightly, remove from the oven and transfer the whole sheet of greaseproof paper to a cooling rack. Do this very carefully, as the biscuits will be fragile and hot! Allow to cool completely before icing.
For the royal icing:
Combine the ingredients in a mixing bowl, adding the liquids first – add 100ml water to the bowl to start with. Add the dry ingredients and whisk for 5 minutes with an electric whisk, or for longer with a wooden spoon. Whisk slowly initially, to avoid clouds of icing sugar!
Continue whisking, gradually adding more water, until you achieve the desired consistency – a smooth, bright white paste, which is the thickness of toothpaste (you may need to use less or more water than the recipe states – go slowly and judge when you’ve reached the correct point).
Use immediately, or cover with cling film and chill, for no longer than 24 hours.
For this recipe you will need to divide your recipe into half ‘line’ icing and half ‘flood’ icing. Line icing is the consistency of toothpaste and is used for outlining your biscuits and adding detail. Flood icing is the consistency of custard and used to fill larger areas or sections of the biscuit with a smooth, shiny surface. We use a piping bag cut at an angle at the tip to achieve the thin, crisp line in line icing and a squuezy bottle for flood icing.
To make line icing you don’t need to change the consistency of the royal icing. Simply look at how many colour variations you need (detailed below) and divide up the icing into clean, dry bowls and add food colouring.
To make the flood icing, place the royal icing in a large bowl. Add water, a few drops at a time, stirring constantly, until you have a pourable mixture of the same consistency as custard. Check how many colour variations you need (detailed below) and divide up into clean, dry bowls and add food colouring.
For the blue scalloped egg decoration:
Line: blue / white / beige
Flood: blue
Using blue line icing, pipe around the edge of the biscuit in an egg-shape. Leave to dry for 10 minutes at room temperature.
Once dry, flood the shape with blue flood icing.
Place the biscuit onto a baking tray and into an oven set to the lowest temperature (50°C/gas mark .) for 40 minutes, or until the icing has set hard.
Using white line icing, pipe a scalloped pattern across your biscuit in rows.
While the icing is still wet, sprinkle some sugar directly onto the icing. Gently tap off any excess.
In the centre of each scallop shape, use beige line icing to pipe 3 small lines in a fan shape. Allow to fully dry.
For the pink latticed egg decoration:
Line: hot pink / white / beige
Flood: hot pink
Using hot pink line icing, pipe around the edge of the biscuit in an egg-shape. Leave to dry for 10 minutes at room temperature.
Once dry, flood the shape with hot pink flood icing.
Place the biscuit onto a baking tray and into an oven set to the lowest temperature (50°C/gas mark .) for 40 minutes, or until the icing has set hard.
Using white line icing, pipe 2 horizontal lines across the biscuit – one near the top and one near the bottom. Between the lines, pipe a set of diagonal lines one way across the biscuit, then repeat in the other direction to create a lattice effect.
While the icing is still wet, sprinkle some sugar directly onto the icing. Gently tap off any excess.
Where the diagonal lines in the lattice meet, place a gold ball decoration at the centre. If they are not sticking to the sugared line icing, pipe an extra dot of line icing onto the intersection before applying the balls.
Use beige line icing to pipe a fan shape at the very top and bottom of the biscuit. Allow to fully dry.
Reviews
Have you tried this recipe? Let us know how it went by leaving a comment below.
Cancel reply
Your review
Name *
Our team will respond to any queries as soon as we can - this may take longer over weekends. You do not need to resubmit your comment.
Please note: Moderation is enabled and may delay your comment being posted. There is no need to resubmit your comment. By posting a comment you are agreeing to the website Terms of Use .
Be the first to leave a review
Ingredients
Method
More Easter Recipes
View all
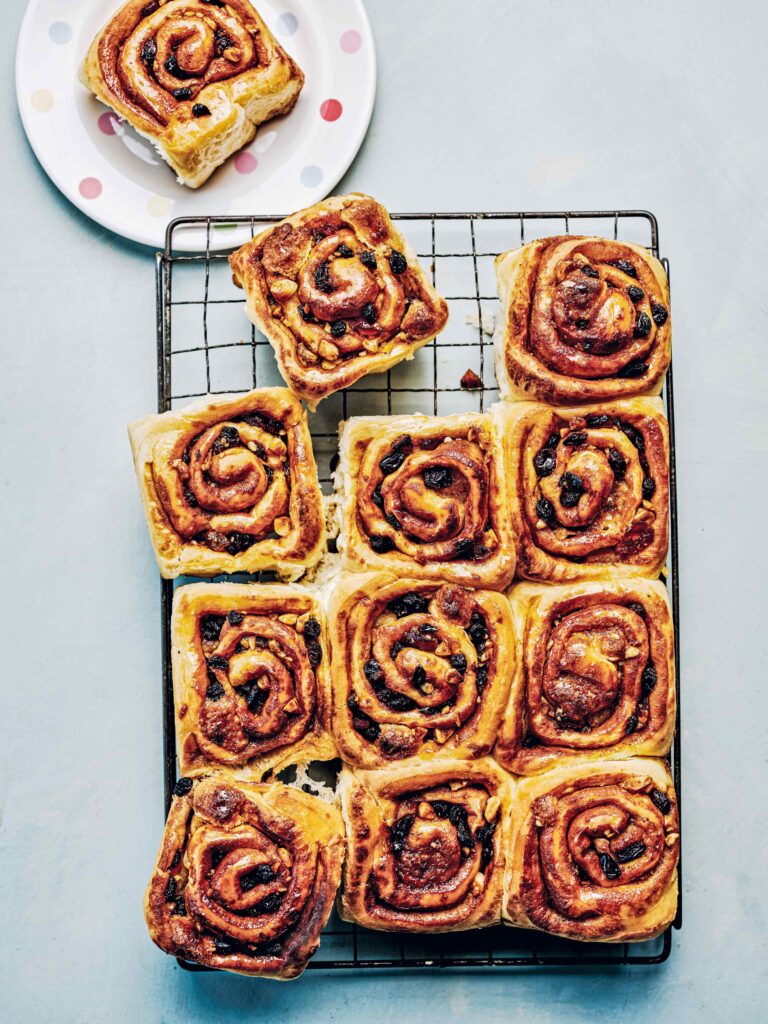
Easter Simnel Buns
by Stork from Stork: The Art of Home Baking
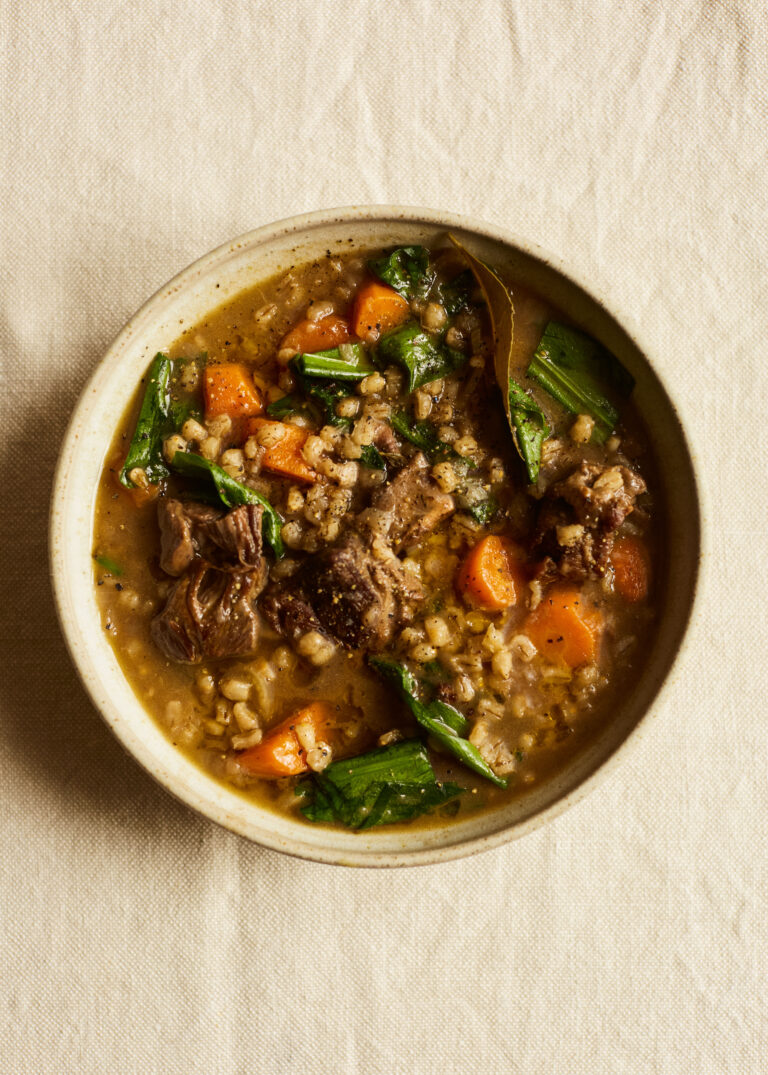
Julius Roberts’ Lamb Stew with Pearl Barley and Wild Garlic

by Julius Roberts from The Farm Table
More Biscuit Recipes
View all

Cinnamon Stars – Zimtsterne
by Anja Dunk from Advent
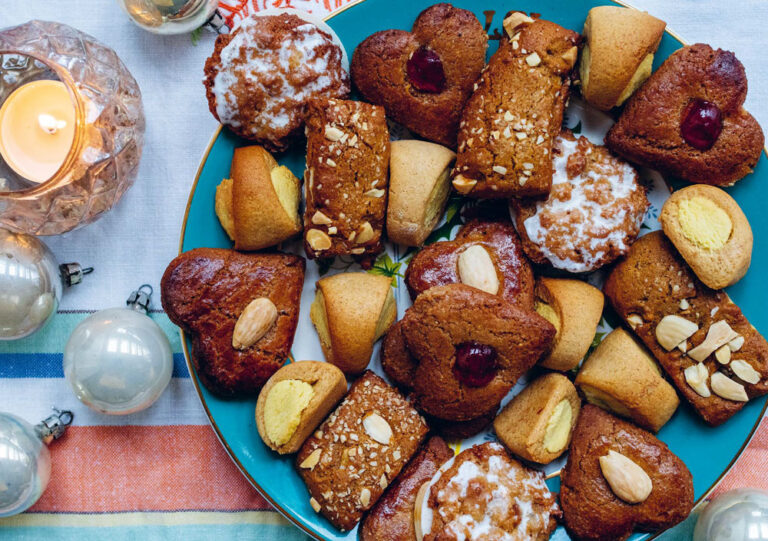
Lebkuchen Hearts – Lebkuchenherzen
by Anja Dunk from Advent
More Recipes from Biscuiteers Book of Iced Gifts
View all

Biscuiteers Best of British Jubilee Biscuits
by Biscuiteers from Biscuiteers Book of Iced Gifts
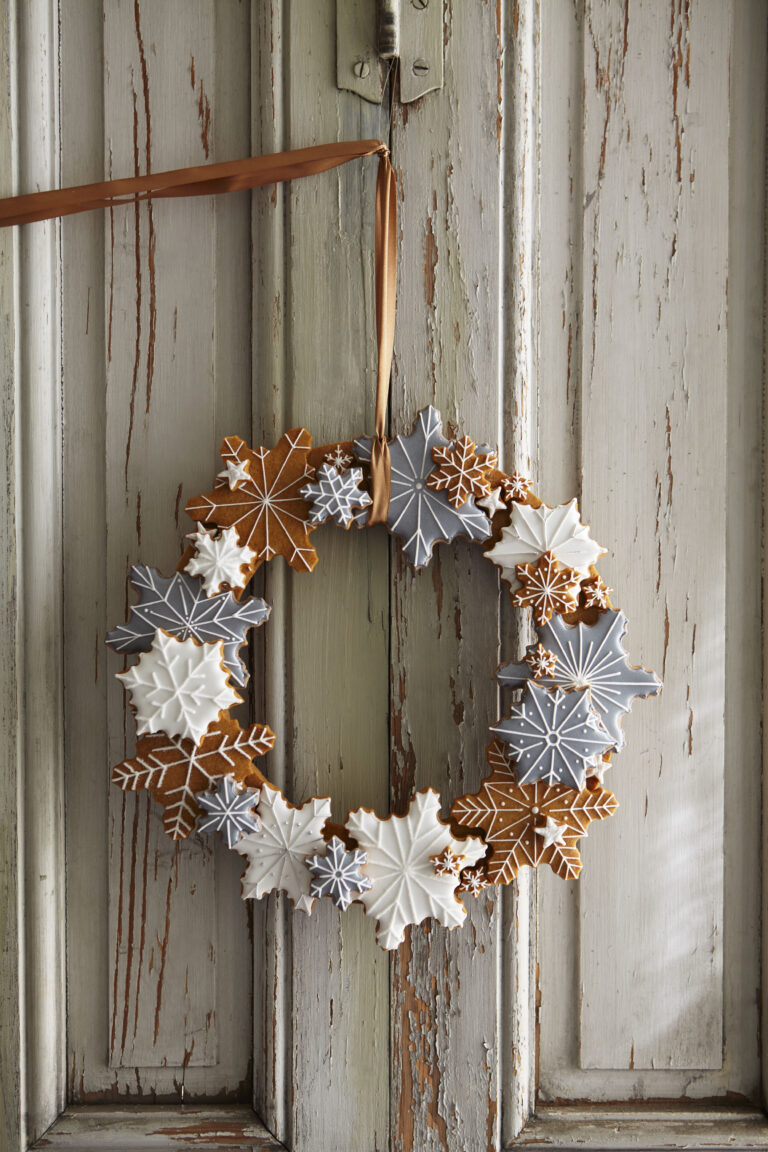
Christmas Biscuit Wreath
by Biscuiteers from Biscuiteers Book of Iced Gifts
Get our latest recipes, features, book news and ebook deals straight to your inbox every week
